
It's the Simple Things
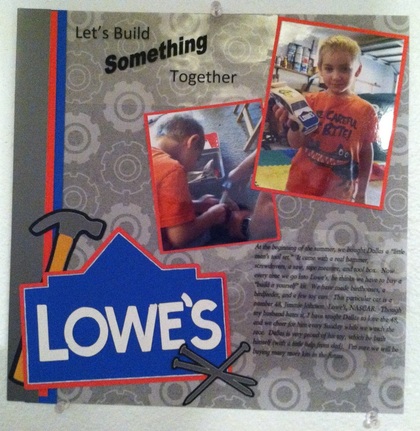 We bought my son, Dallas, a "Little man's tool kit" at Lowes a few months back, and ever since we have built all kids of things. I think everyone on our street now has a Dallas made birdhouse or birdfeeder, LOL. At least he is learning a skill and having a good time doing it.
I am super pround of myself with this page. I set out to re-create the Lowe's logo, and I think I did a pretty good job. It took me a little time and the cricut craft room, but I got it done. I used craft room basics to make the Lowes sign by layering basic shapes until I had the outline. I used the cricut cartridge: Handman to cut out the hammer and nails. I really don't like my handwritting, so I printed the title and the journaling block using my laptop. The best part is that other than the background paper, everything else was made using paper from my scrap stash, including the transparent paper. Materials Used: Cricut: Handyman (hammer and nails) and Craft Room Basics (Lowe's Logo) Paper: The Paper Studio: Little Boys and Their Toys paper pack Font for text: Berylium
3 Comments
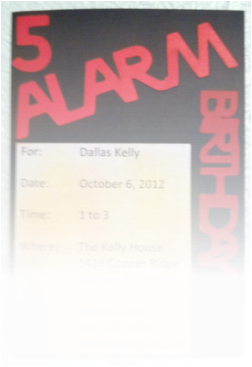 My son's 5th birthday will be here soon. So, I decided that I needed to get the party planning started. He told me that he wants a "Fireman" birthday party....ok, easy enough to do. I started by booking a bounce house in the shape of a firetruck. He is going to be sooooo excited when party day comes, and they set that thing up in the back yard. Next, I went to find some invitations. I looked at 3 different party stores, and no one had anything even close, so I decided to make my own.
I started the invitation, by typing a printing the party information on my computer, then I trimmed it to fit the invitation. I wanted to cut out the words "5 Alarm Birthday" using my cricut. This provided me with the perfect chance to use the cricut craft room, online. So I connected my computer and my cricut expression, and was able to complete the linking process. I was happy to see that when you open cricut craft room, they give you circut craft room basics for free. It is really just a font and some basic shapes. I loved it because I was able to connect the letters to make one cut instead of cutting each individual letter. That really saved me a lot of time. I also liked that you could move the image anywhere you wanted on the mat, this saved me some paper, as this allowed me to save paper by placing the images really close together. The last thing I did, before attaching everything, was use chalk to make the invitation seem like it was on fire. I used red, orange, and yellow shades of chalk, and blended them all together to give the impression of fire. Always start with the lightest shade of chalk first, and work your way toward the darker colors - you get a better blend that way. I think the invitaitons turned our really cute and I can't wait to had them out to our family and my son's friends. Materials Used: Cardstock: Basic black and white printer paper Chalks: Red, orange, and yellow chalks by the Stencil Collection Titles: Cricut Craft Room Basics |
 
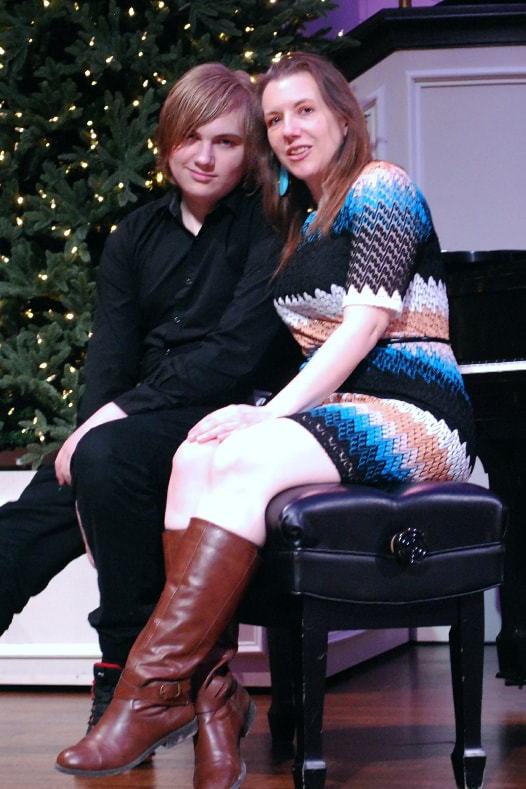
JoNeita & Dallas - Dec. 2021
About MeMy name is JoNeita Kelly and I have been crafting for at least the last 20 years. I live in Forney, Texas with my son, Dallas. I am a High School teacher and Cheerleading Coach. I love to craft and to continue to improve my photography and editing skills whenever I have free time. What I love most is telling our story using pictures, it is the most important gift I can leave my family. 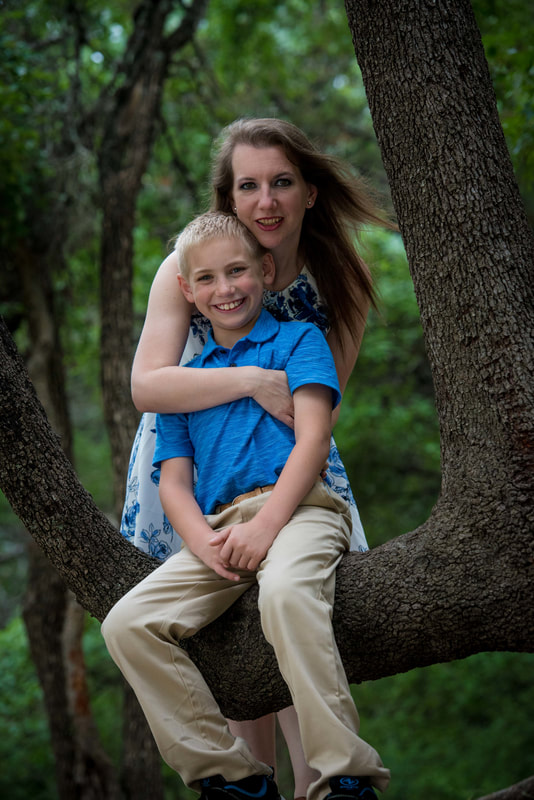
Photo by Steven Mackie Photography.
Categories
All
Archives
December 2021

Former Design Team Member for Fantabulous Cricut Challenge Blog
 |

 RSS Feed
